I’ll admit it—sometimes I get attached to clothes, to the point where they become my absolute go-to pieces. One day, though, disaster struck. My favorite pair of pants, the ones I wear at least once a week, suddenly lost a button.
There I was, standing in front of the mirror, facing the dilemma: should I throw them away or fix them? I chose the latter, and since then, I’ve realized that knowing how to sew a button on pants is a skill every fashion lover should have.
In this guide, I’m going to show you how to fix that pesky missing button, so you don’t have to say goodbye to your beloved pants.
What Do You Need to Sew a Button on Pants?
Before you begin, let’s gather everything you need for this simple fix. It’s not just about sewing; it’s about giving your clothes a new lease on life and avoiding the wastefulness of tossing them out.
What Tools Are Necessary?
To sew a button on pants, you don’t need a fancy sewing machine or special skills. Here’s a list of the basic tools you’ll need:
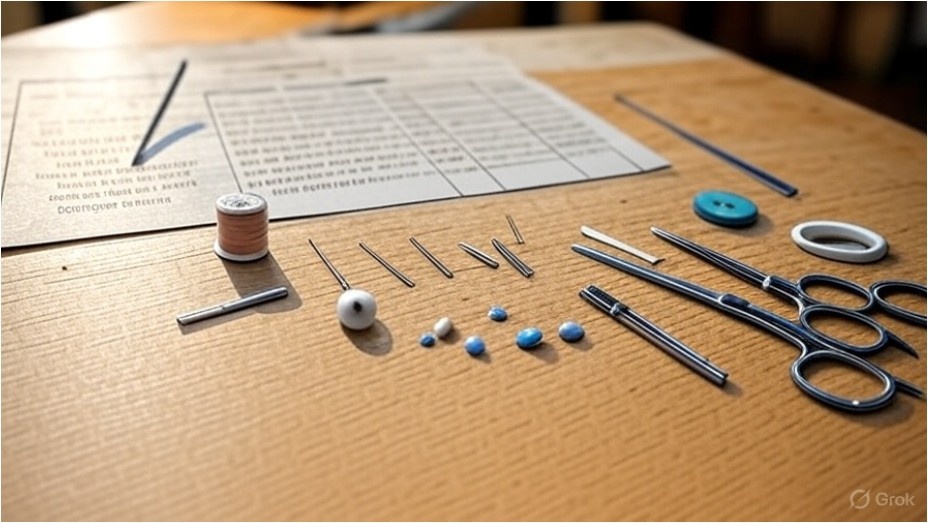 Image Generated Using Grok
- A Needle – Make sure it’s strong enough to go through the fabric of your pants.
- Thread – Choose a color that matches your pants, or go for a neutral one, like beige or black.
- A Button – If you don’t have an extra one, try to find a similar size and style from a craft store or repurpose one from another piece of clothing.
- Scissors – You’ll need these to cut the thread once you’re finished.
- Pins – These help hold the button in place while you sew.
- Fabric chalk or pencil – To mark where the button should go, especially if the spot isn’t already visible.
Now that you’ve got your tools ready, let’s get to work!
How to Sew a Button on Pants: A Step-by-Step Guide
Sewing a button on your pants doesn’t need to be a challenge. Here’s a simple step-by-step guide to help you get it done quickly and effectively.
Step 1: Find the Perfect Spot for the Button
If the button came off and you still have the spot where it was attached, great! If not, you’ll need to mark the spot for the button. Place the button where it should be on your pants and use fabric chalk or a pencil to mark the holes where the button will go. If you’re replacing a missing button, make sure the new button matches the original placement.
Step 2: Thread the Needle
Cut a piece of thread about 18 inches long—this gives you enough space to work with. Thread the needle and tie a small knot at the end. If you’re worried about the knot slipping through, double the thread for extra strength.
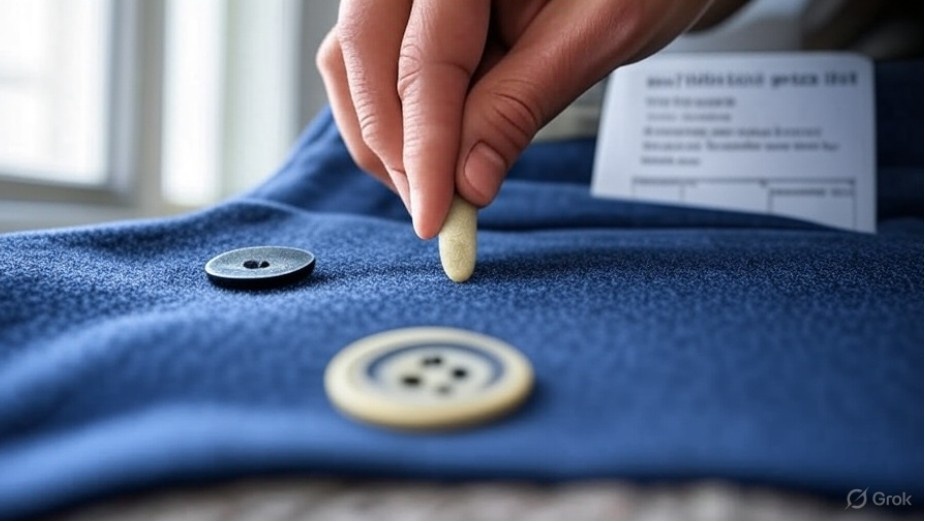 Image Generated Using Grok
Step 3: Position the Button and Pin It
Place the button onto the marked spot, using pins to secure it. If it’s a button with two or four holes, align the button correctly. Take your time and ensure that the button sits comfortably in the right spot before starting to sew.
Step 4: Sew Through the Holes
Now the fun part begins! Starting from the backside of the fabric, push the needle through one of the holes in the button. Pull the needle all the way through until the knot catches. Push the needle down through the opposite hole on the button and pull tightly. Keep going through each hole several times, making sure the button stays secure.
If it’s a four-hole button, repeat the process with the remaining two holes. Once you’ve sewn through all the holes, your button should be firmly attached. Don’t forget to pull the thread tight to ensure it’s snug against the fabric!
Step 5: Reinforce the Button
After your button is securely in place, go back through all the holes one or two more times to reinforce the stitching. This step will make sure the button stays attached, especially if it’s under pressure when you’re wearing the pants.
Step 6: Tie the Knot and Cut the Thread
Once you’re confident the button is securely fastened, tie a small knot at the back of the fabric to keep the thread in place. Trim off any excess thread with your scissors. Your button is now securely sewn on!
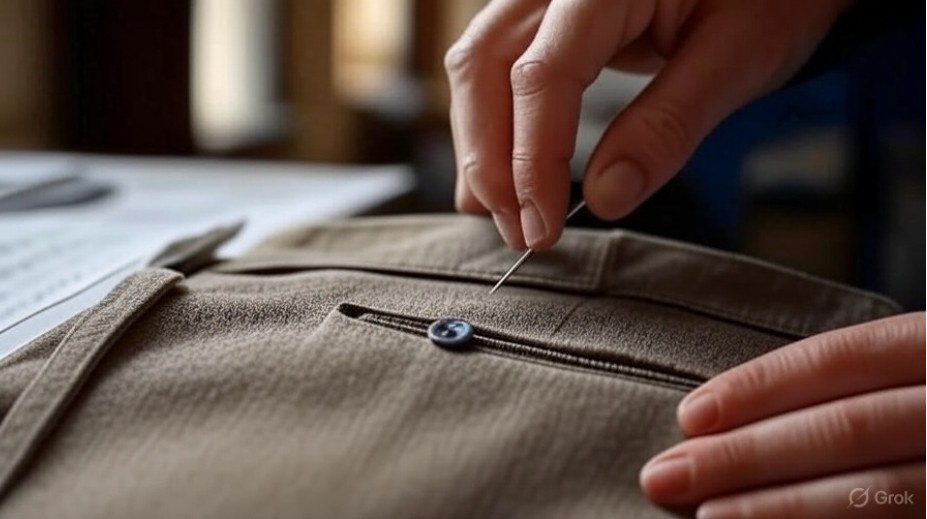 Image Generated Using Grok
How to Make the Most of Sewing a Button on Pants
Now that you’ve learned the basics of sewing a button, here are a few extra tips to ensure the repair lasts as long as possible:
- Use Strong Thread: For pants that are worn frequently, such as jeans, consider using a strong, durable thread like denim or upholstery thread. This will ensure the button stays in place for a longer period.
- Reinforce with a Button Shank: If the button is heavy or you’re dealing with thicker fabrics, consider sewing through a button shank. This will provide more stability and prevent the button from falling off
- Choose the Right Button: If you’re not using the original button, try to choose one that is similar in size and shape. Buttons that are too large or too small can make the pants uncomfortable or affect their overall look.
Types of Buttons and How to Sew Them
1. How to Sew a Four-Hole Button on Pants
-
How to Sew: Sew through the button’s holes in a crisscross pattern, forming an “X” shape on the front of the button. This creates a sturdy hold.
-
Tip: Four-hole buttons are often used for shirts and dress pants, as they provide a secure closure and allow for a neat appearance.
2. How to Sew a Two-Hole Button on Pants
-
How to Sew: Sew through the two holes, either vertically or horizontally, depending on the button’s orientation.
-
Tip: Two-hole buttons are commonly used on pants and jackets, offering a simple and functional design. Make sure to sew through both holes several times for strength.
3. How to Sew a Shank Button on Pants
-
How to Sew: A shank button has a small loop at the back. To attach it, sew through the loop instead of the holes. You may need to create a gap between the button and fabric using a toothpick or pin to allow the button to function properly.
-
Tip: Shank buttons are typically used for heavier garments or decorative purposes, as the loop at the back provides flexibility for movement.
4. How to Sew a Flat Button on Pants
-
How to Sew: Similar to a two-hole or four-hole button, but these are designed to sit flush against the fabric. Sew through the button holes tightly to prevent any slack.
-
Tip: Flat buttons are often used for lightweight fabrics, like blouses or shirts.
5. How to Sew a Toggle Button on Pants
-
How to Sew: Toggle buttons usually have a loop or cord to fasten them. They are sewn on using their attachment points or by wrapping the loop over the button.
-
Tip: Toggle buttons are popular for coats and outerwear, providing a more secure and unique fastener.
FAQ Section: Your Button Repair Questions Answered
1. Can I sew a button on any type of pants?
Yes, whether you’re dealing with denim jeans, cotton trousers, or dress pants, you can sew a button onto any fabric. Just make sure to use the right needle and thread for the material you’re working with.
2. What if the button holes on my pants are too small for the button?
If the button doesn’t fit through the existing holes, you may need to carefully enlarge the holes using a seam ripper or small scissors. Be cautious to not damage the fabric, and test the button size first.
3. How do I know which type of button to use?
If you’re replacing a lost button, it’s best to find one that closely matches the size and style of the original. You can also use a button from an old piece of clothing that is no longer in use.
4. Can I use glue instead of sewing a button?
While fabric glue can work for certain temporary fixes, sewing a button is always more secure, especially for pants that are under strain. If you use glue, it’s important to allow it to dry completely before wearing your pants.
 Image Generated Using Grok
Your Favorite Pair Of Jeans Is Here To Stay
Sewing a button on pants might seem like a simple task, but it’s an important skill that can save your favorite pair of trousers from being discarded. Whether you’re repairing a lost button or making a style upgrade, this easy-to-follow guide should get your pants looking good as new.
Remember, the key to perfect button repair is patience and practice. The more you do it, the quicker and more proficient you’ll become. So grab your needle, thread, and buttons, and give your pants a new life with just a few simple stitches!
About the Author
![]()


